Customer service
Customer Service is our flagship. A group of highly experienced and professional collaborators who will help you find the solution you are looking for and solve the most common problems, before and after the purchase.
Learn more


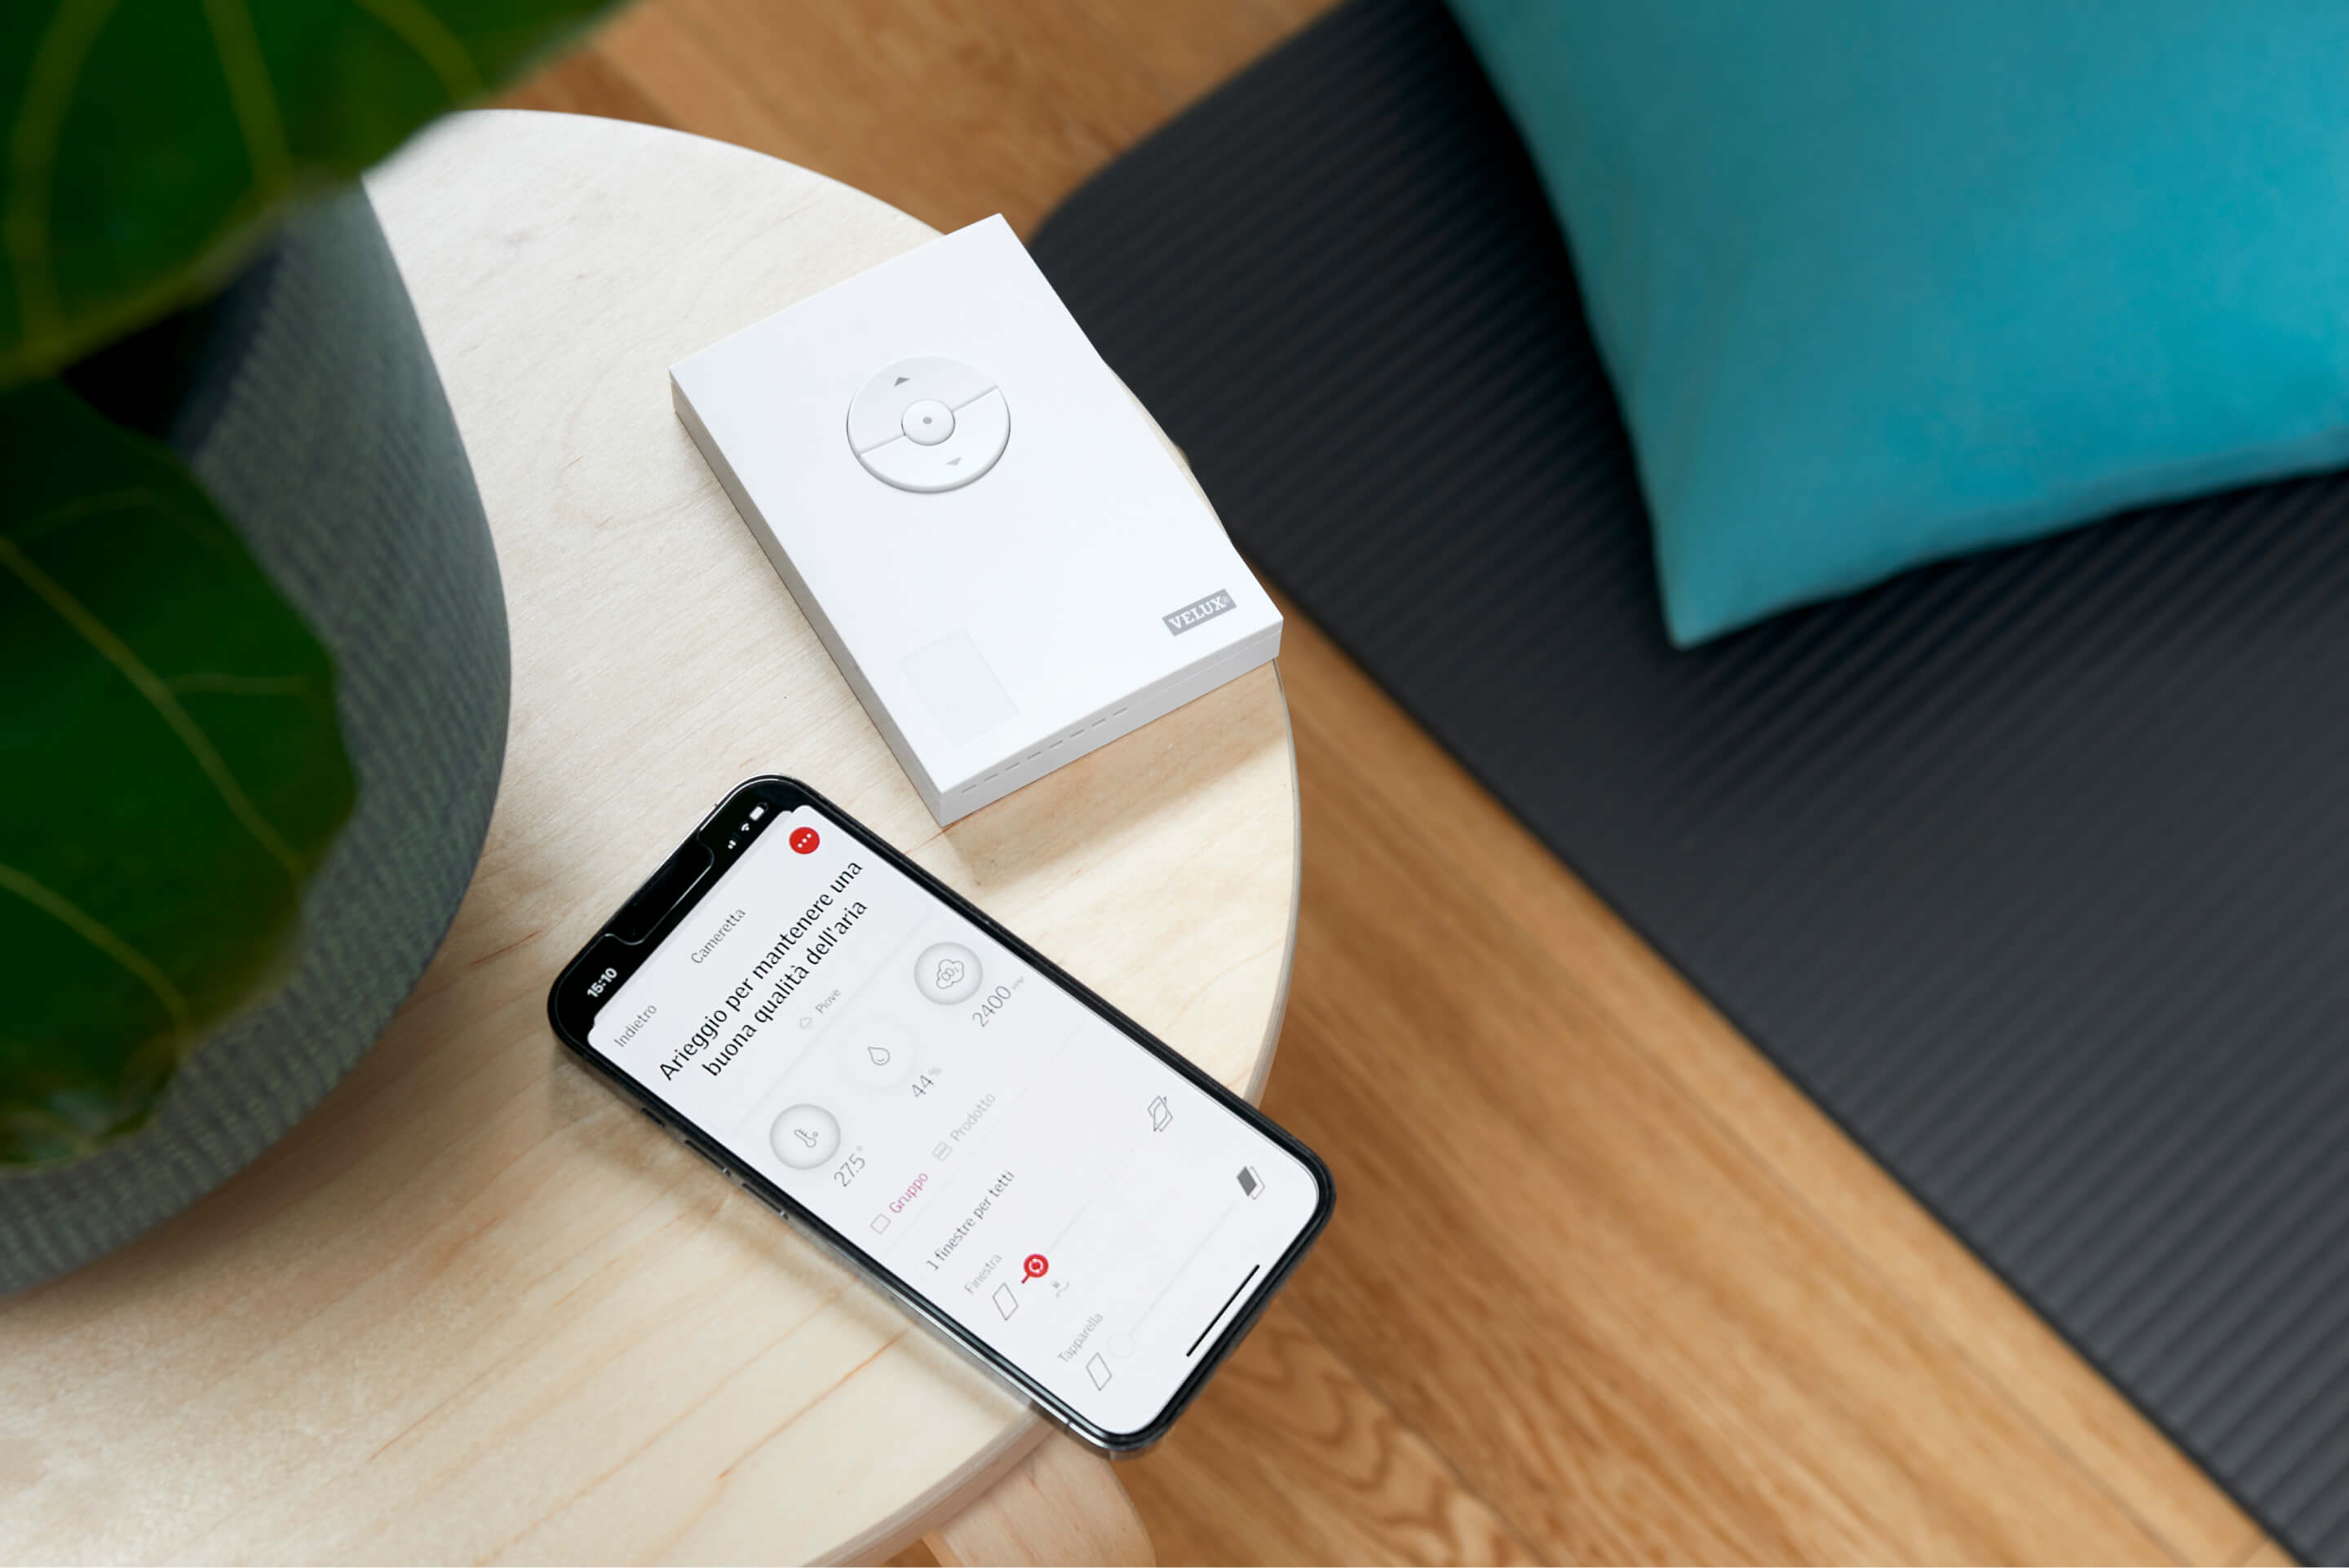
Browse through our collection of frequently asked questions regarding VELUX ACTIVE.
Go to VELUX ACTIVE Support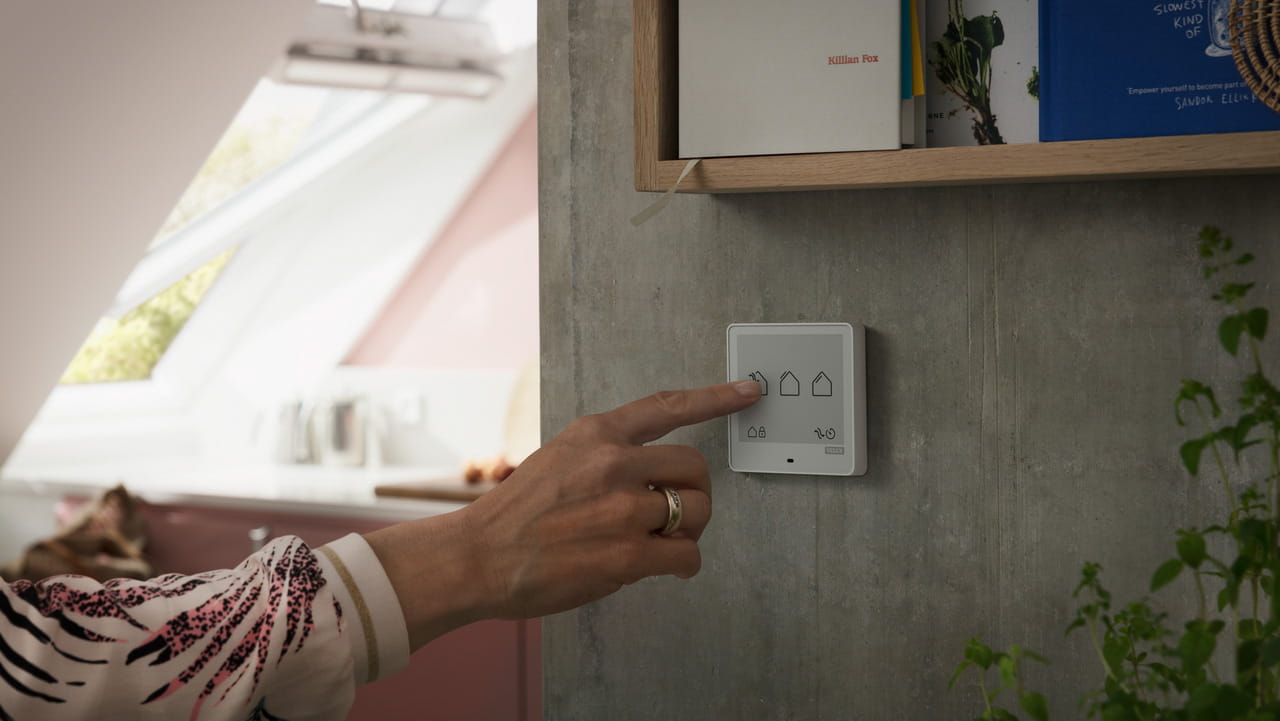
Enter the details from the data plate on your VELUX roof window to register your guarantee.
Complete registration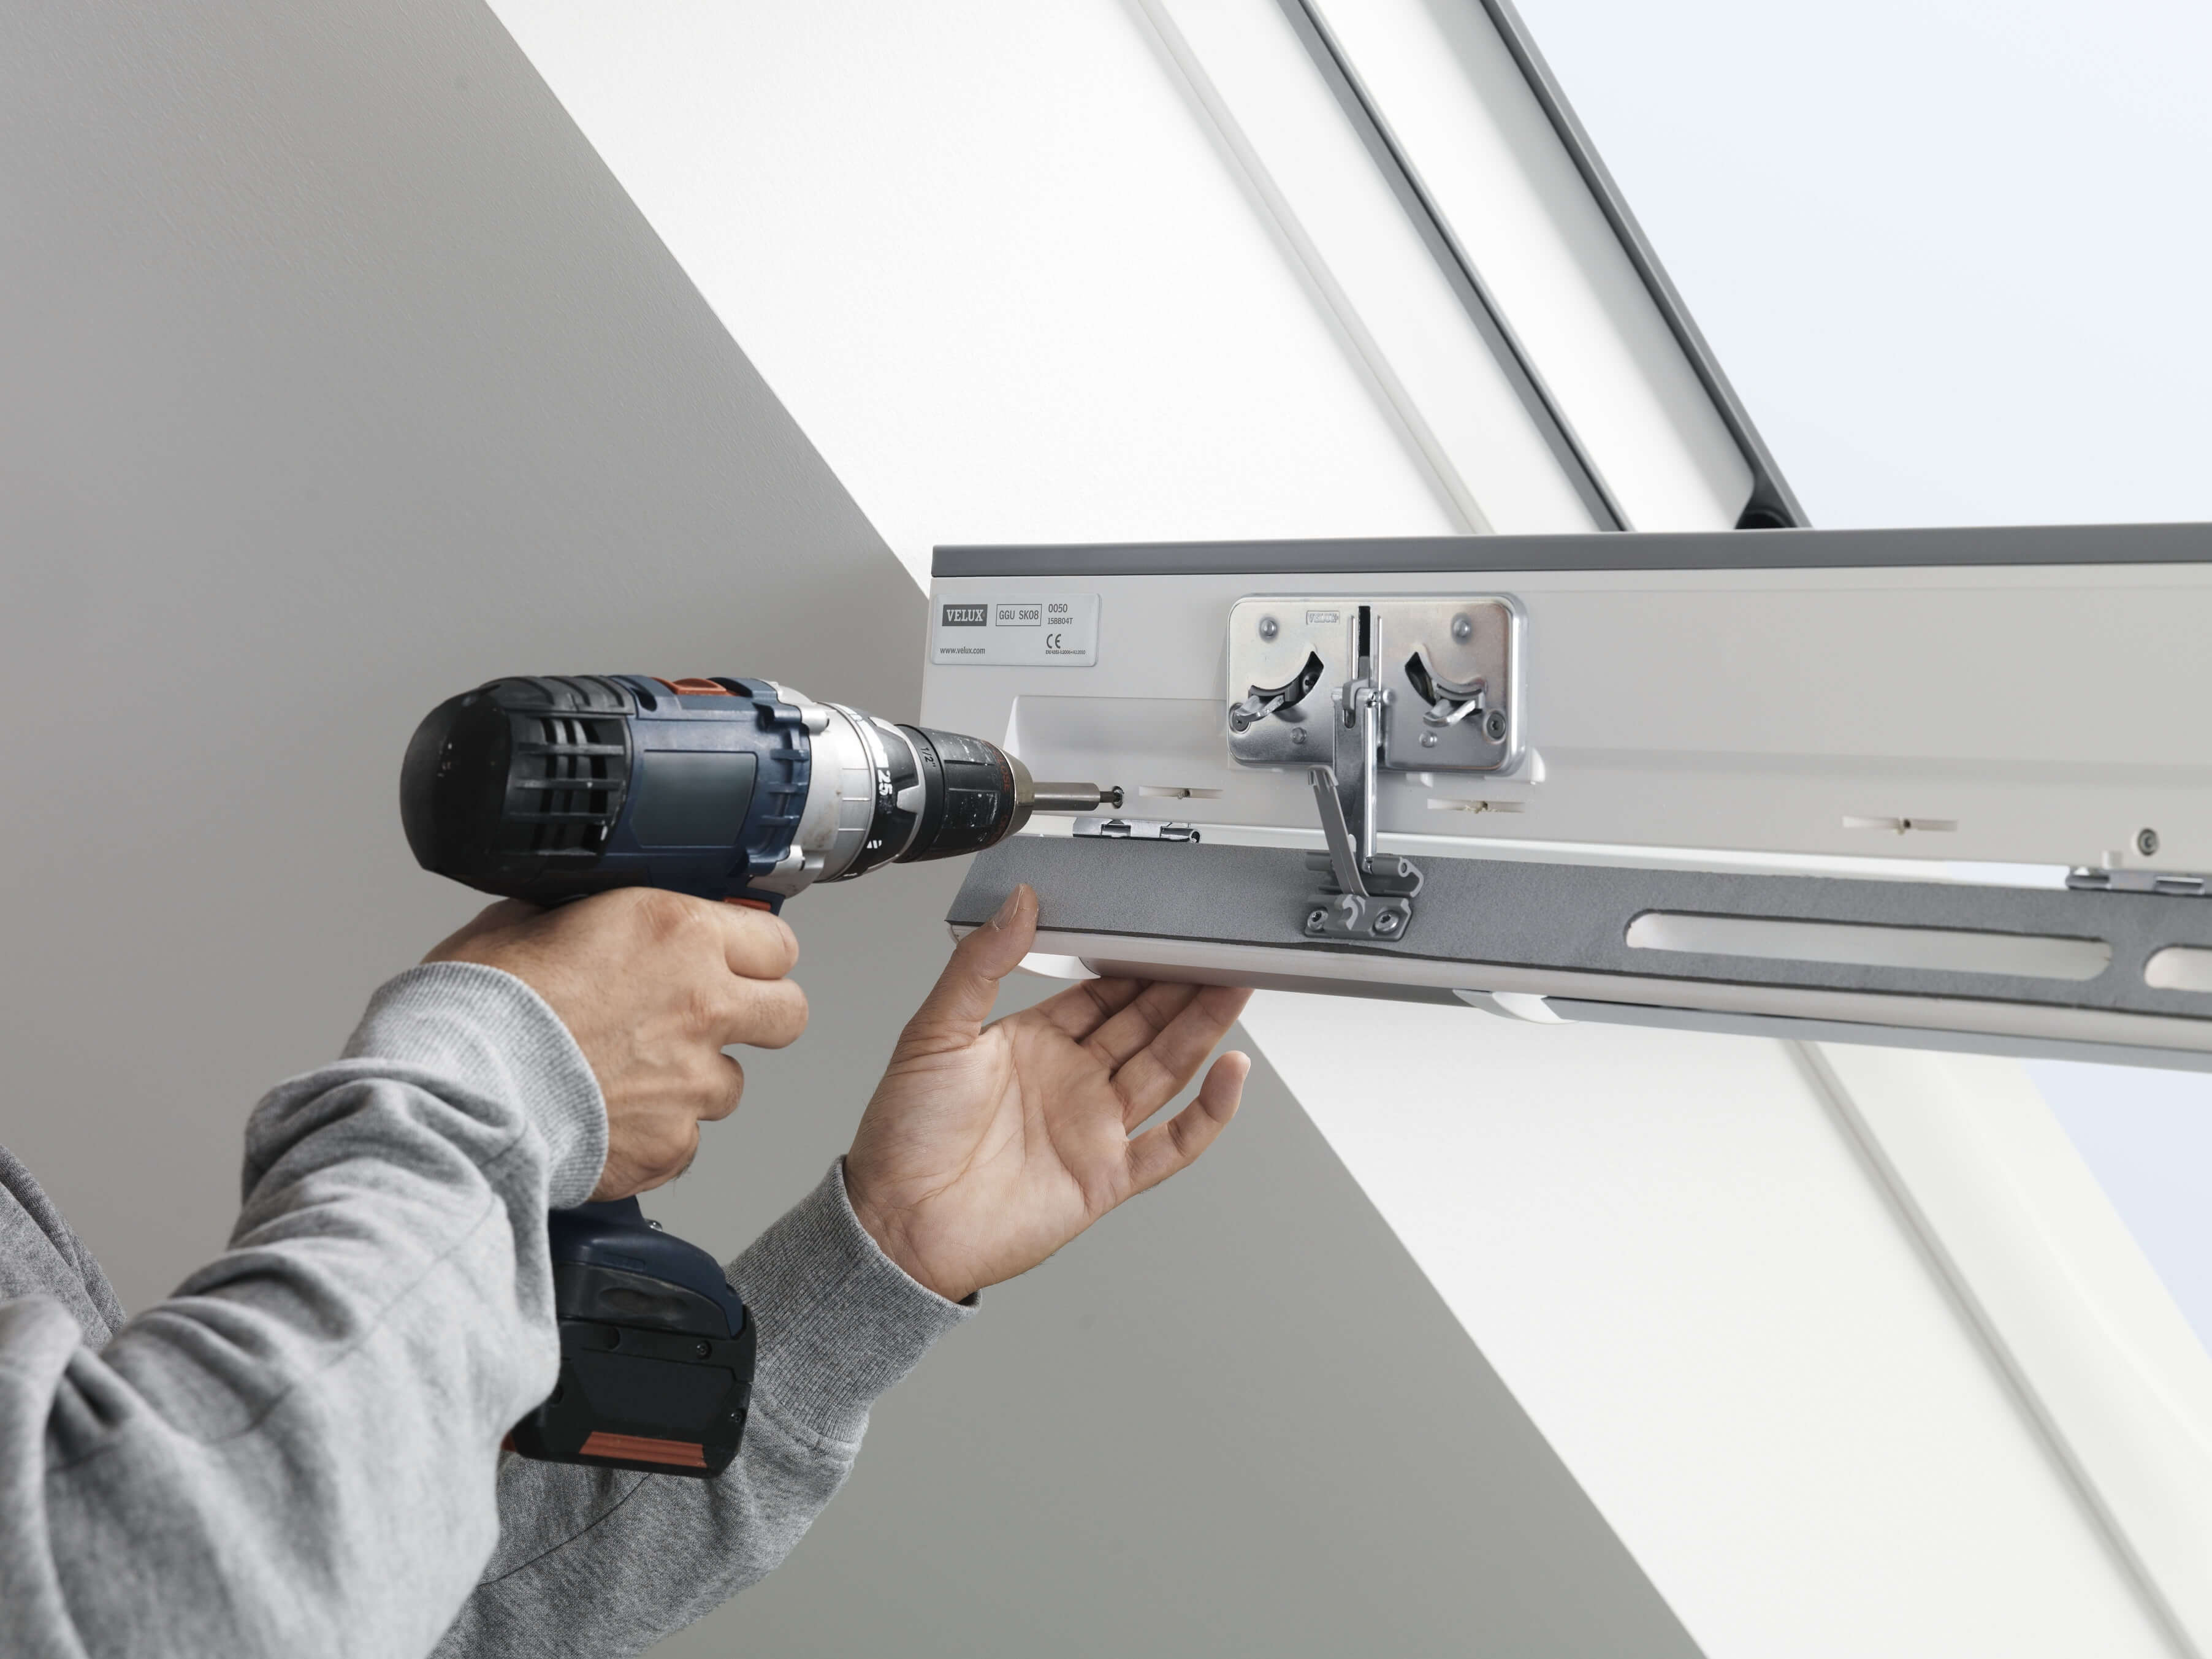
Replacing a component can make your product look as good as new. Order your spare part now.
Go to the spare parts section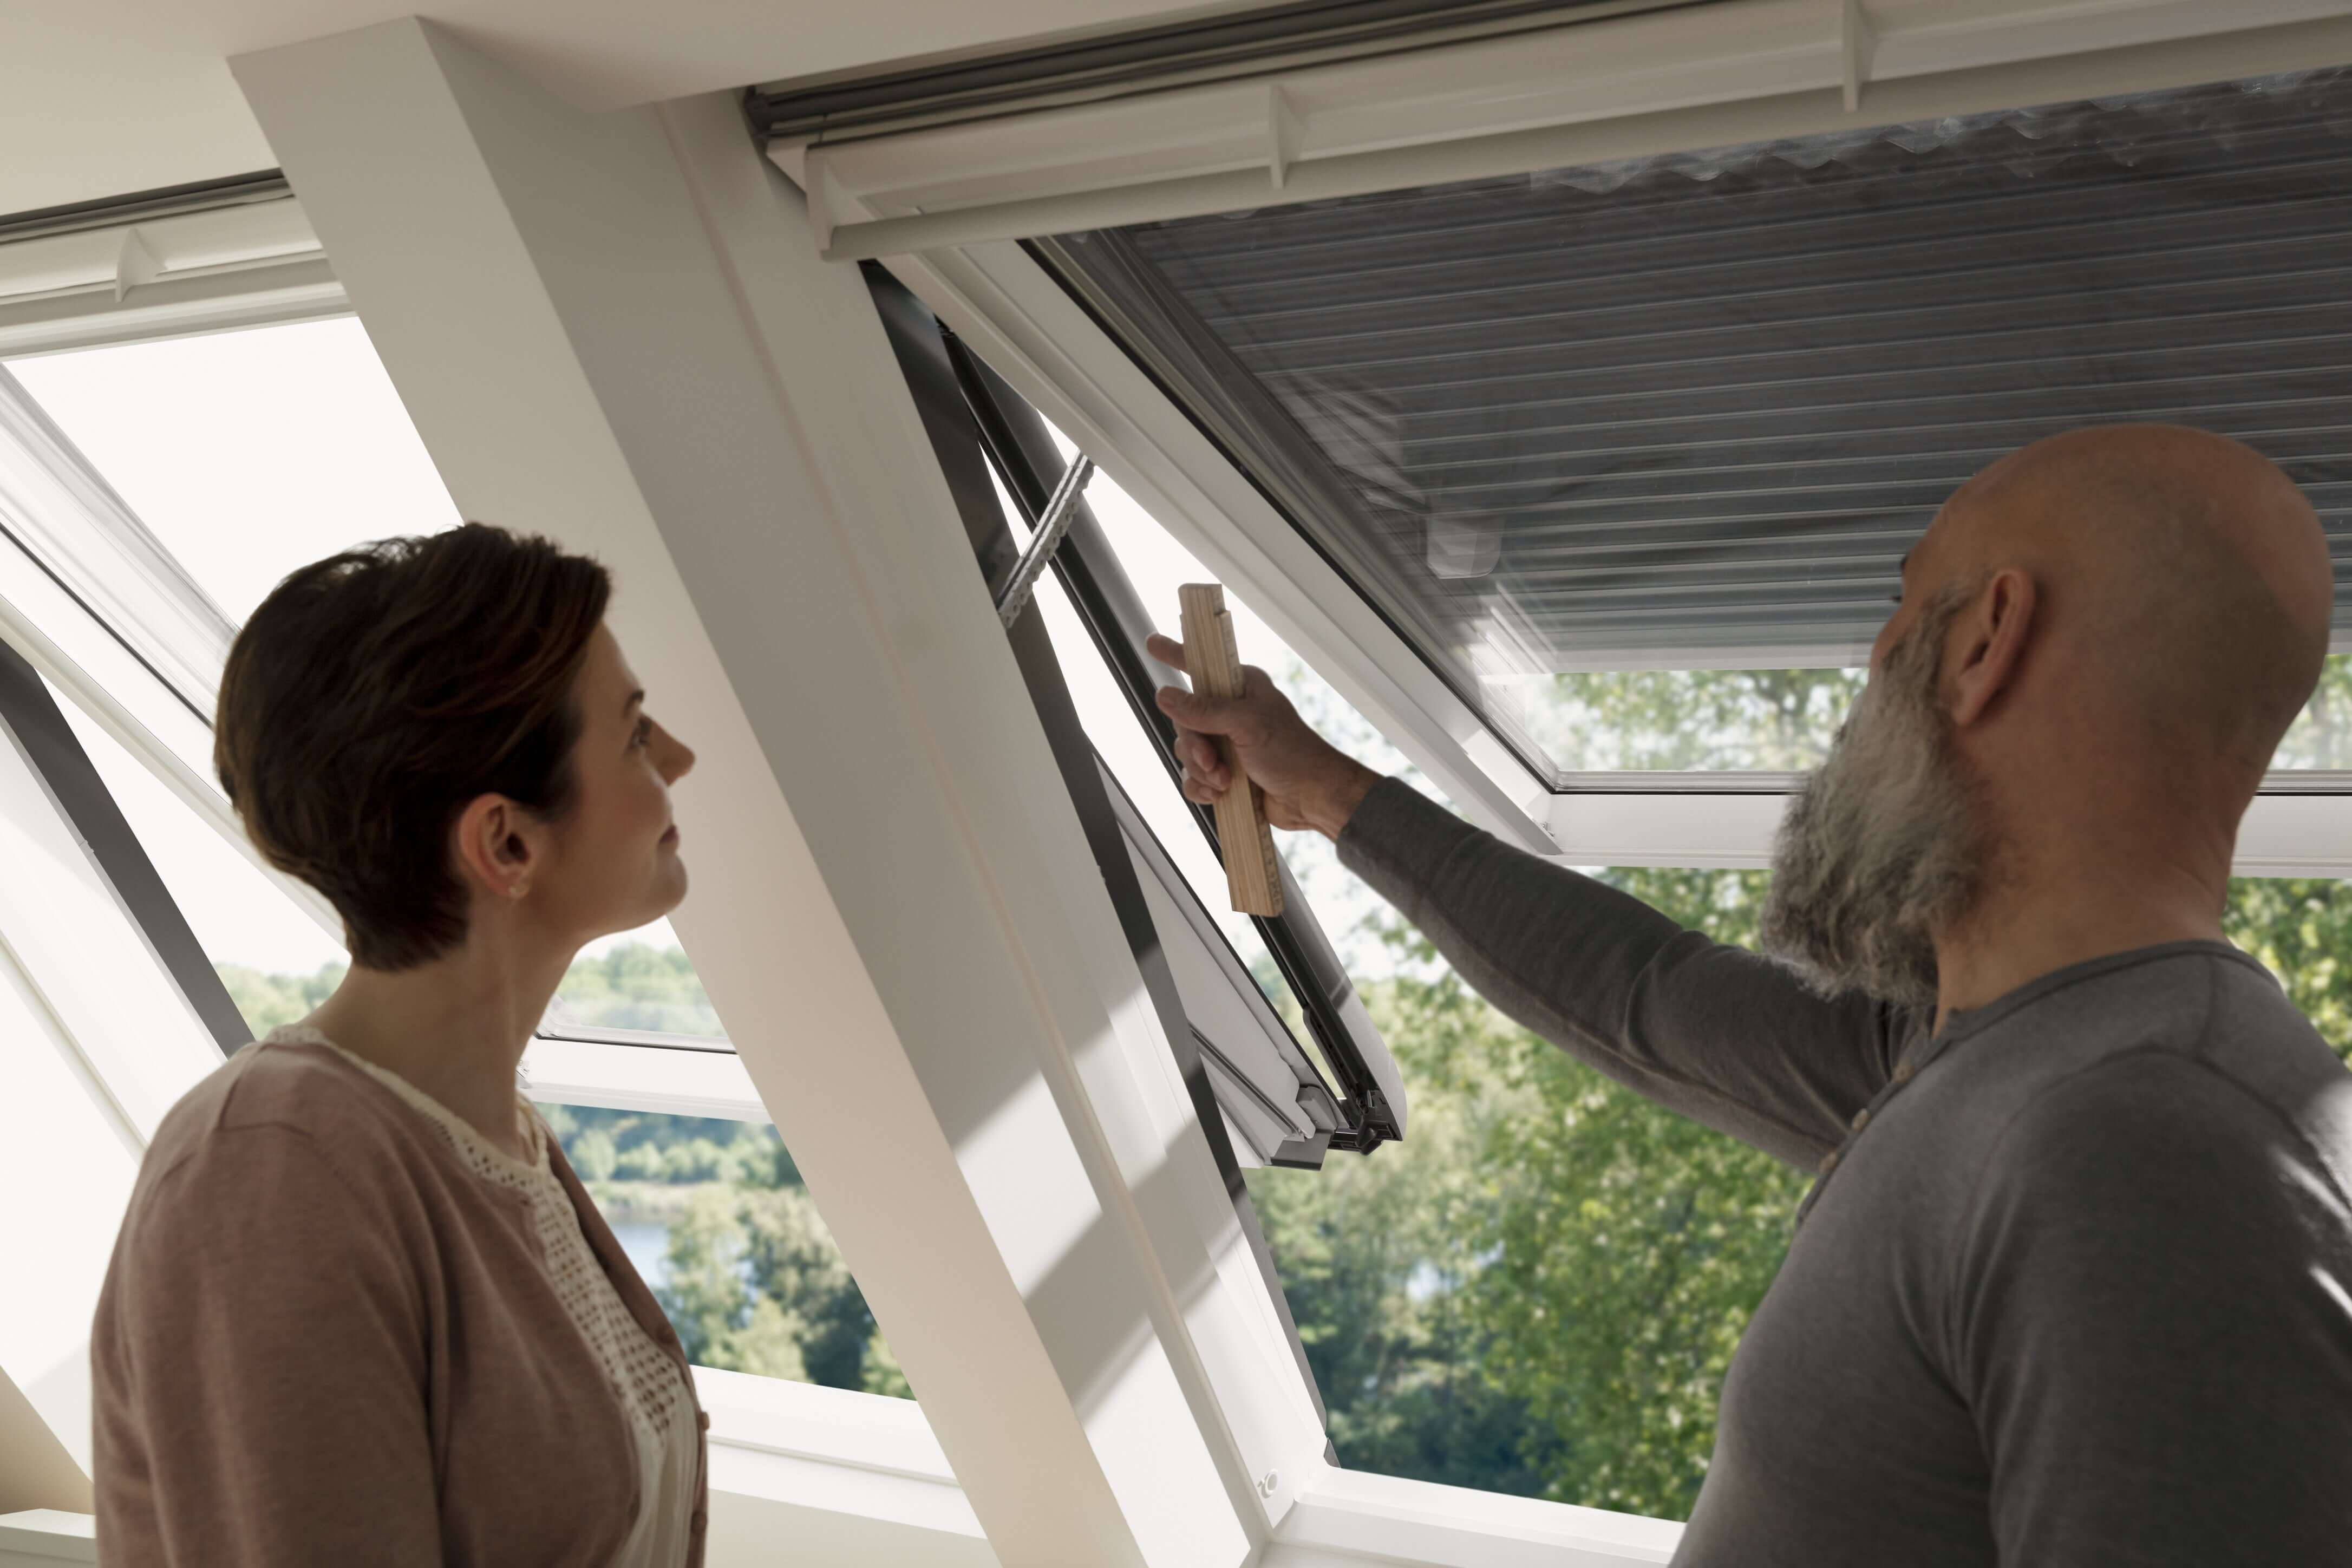
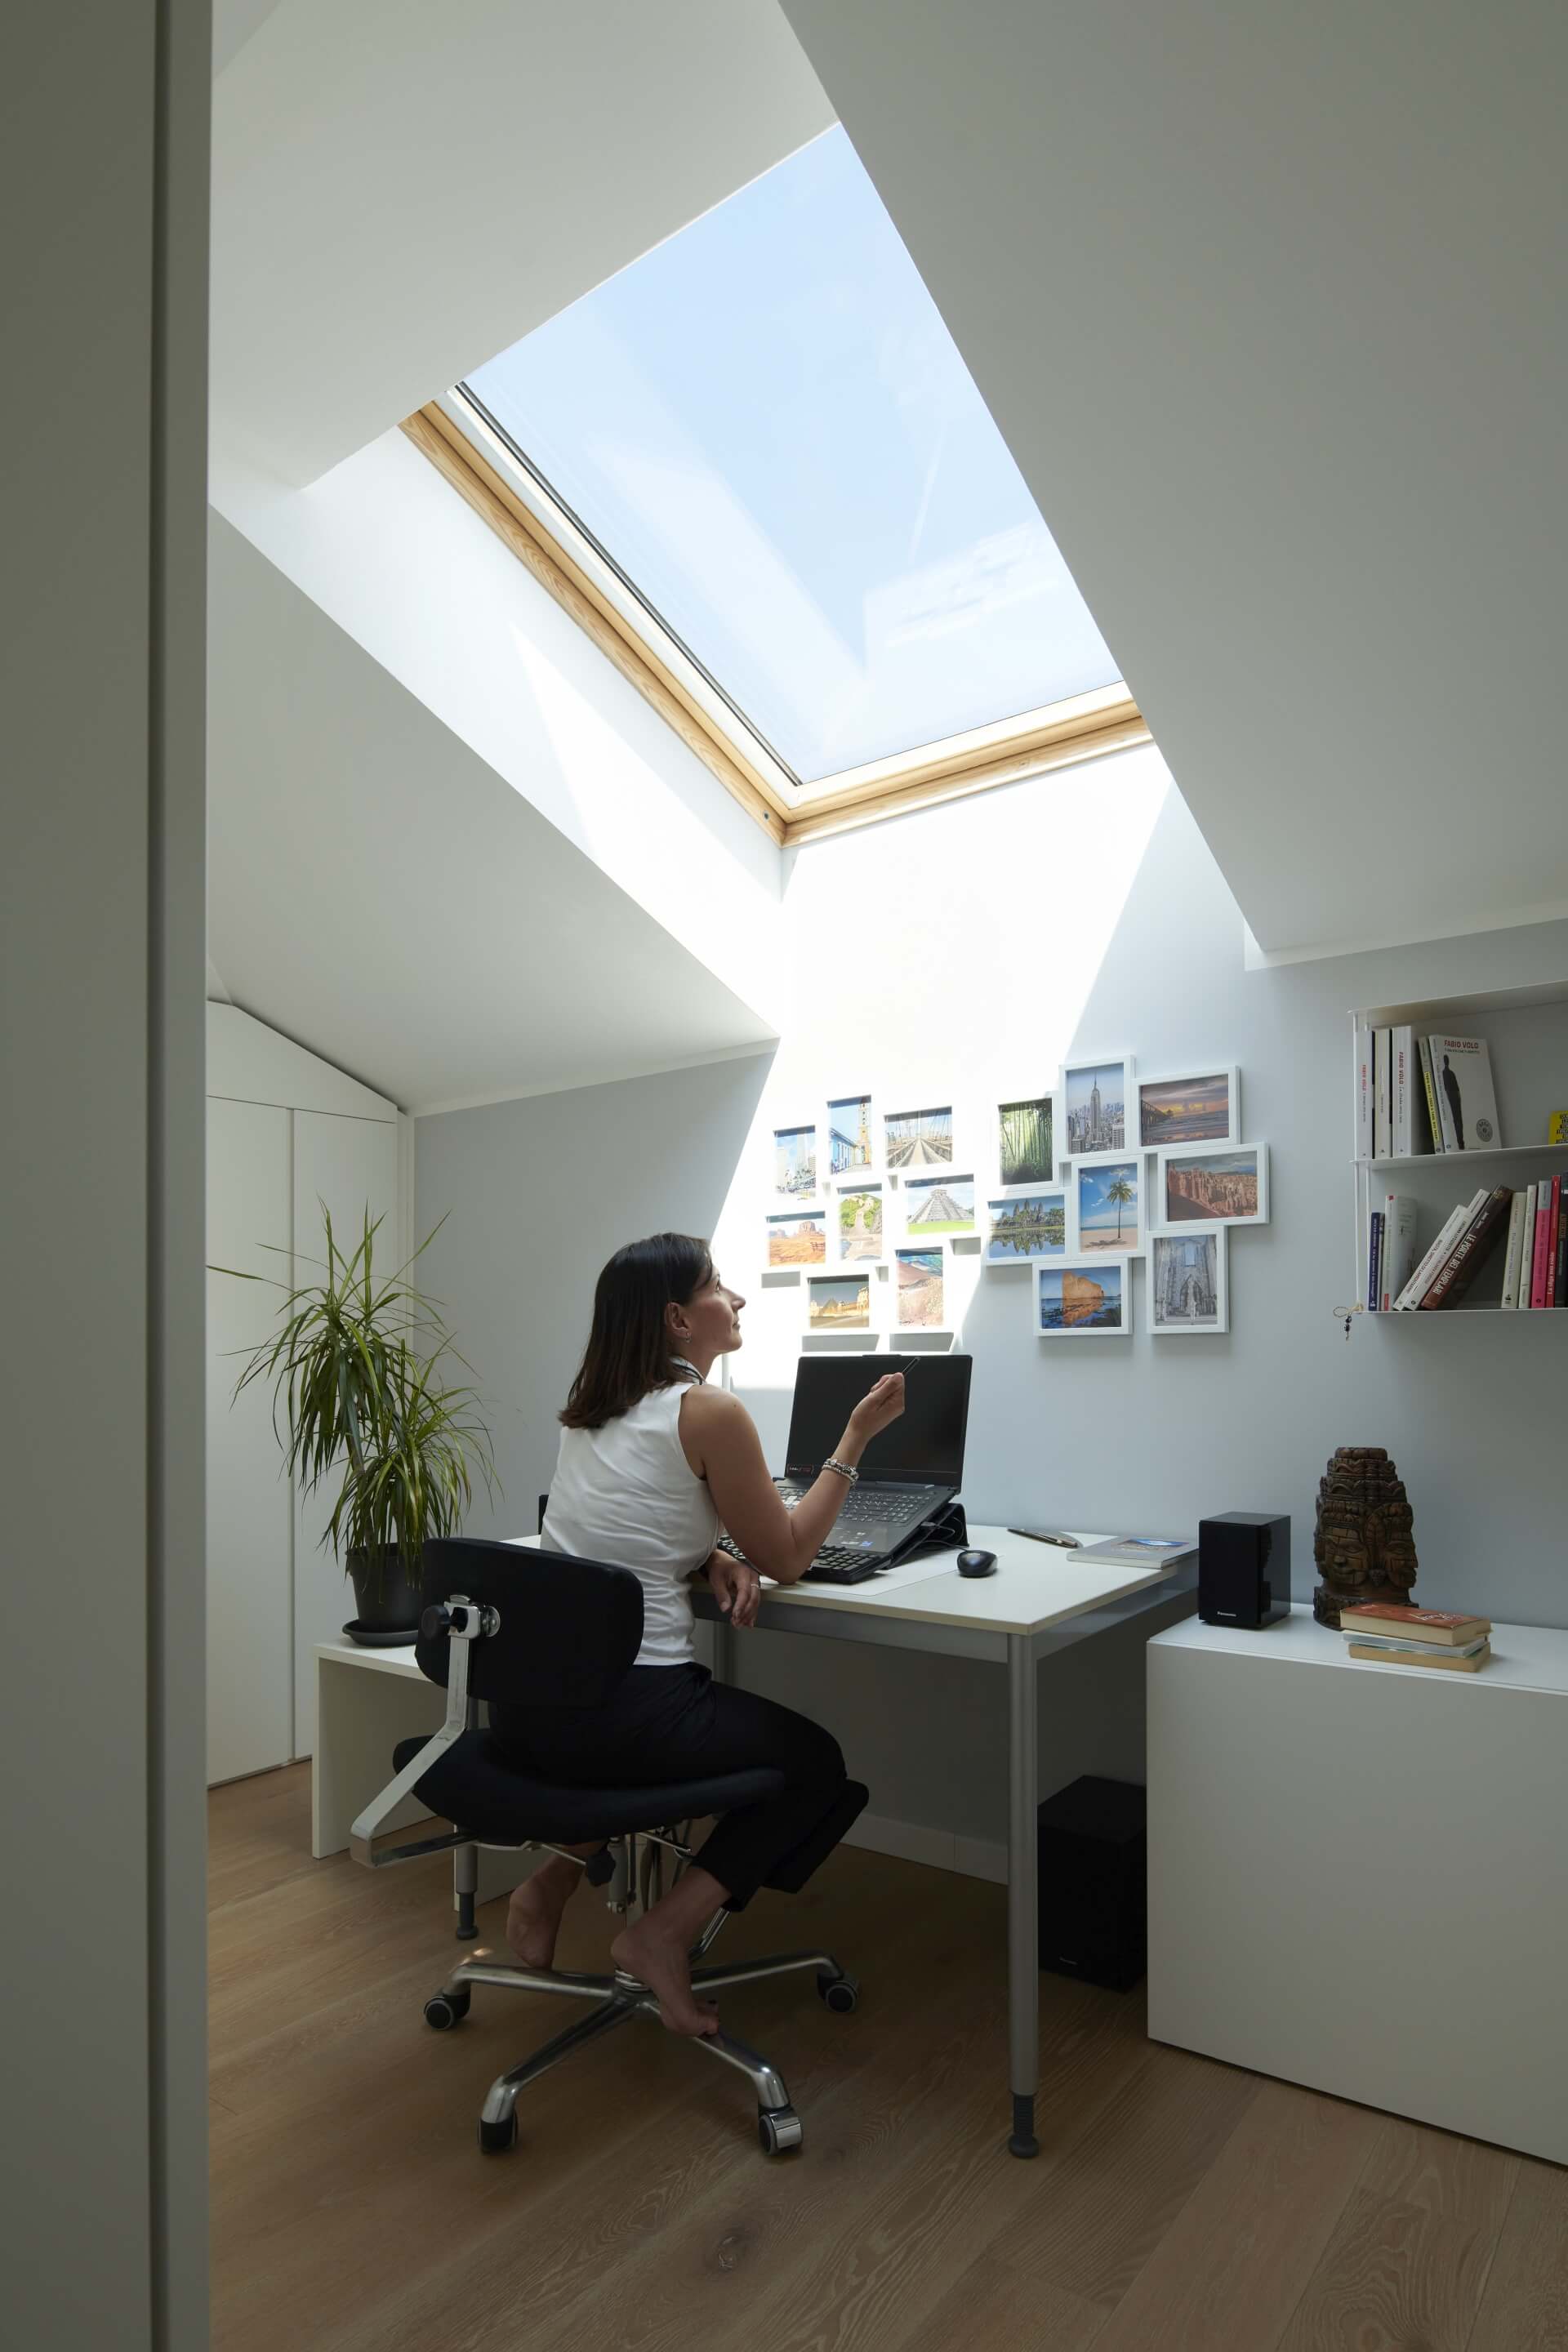
Extend the lifetime of your VELUX roof window by maintaining it.
Get tips and tricks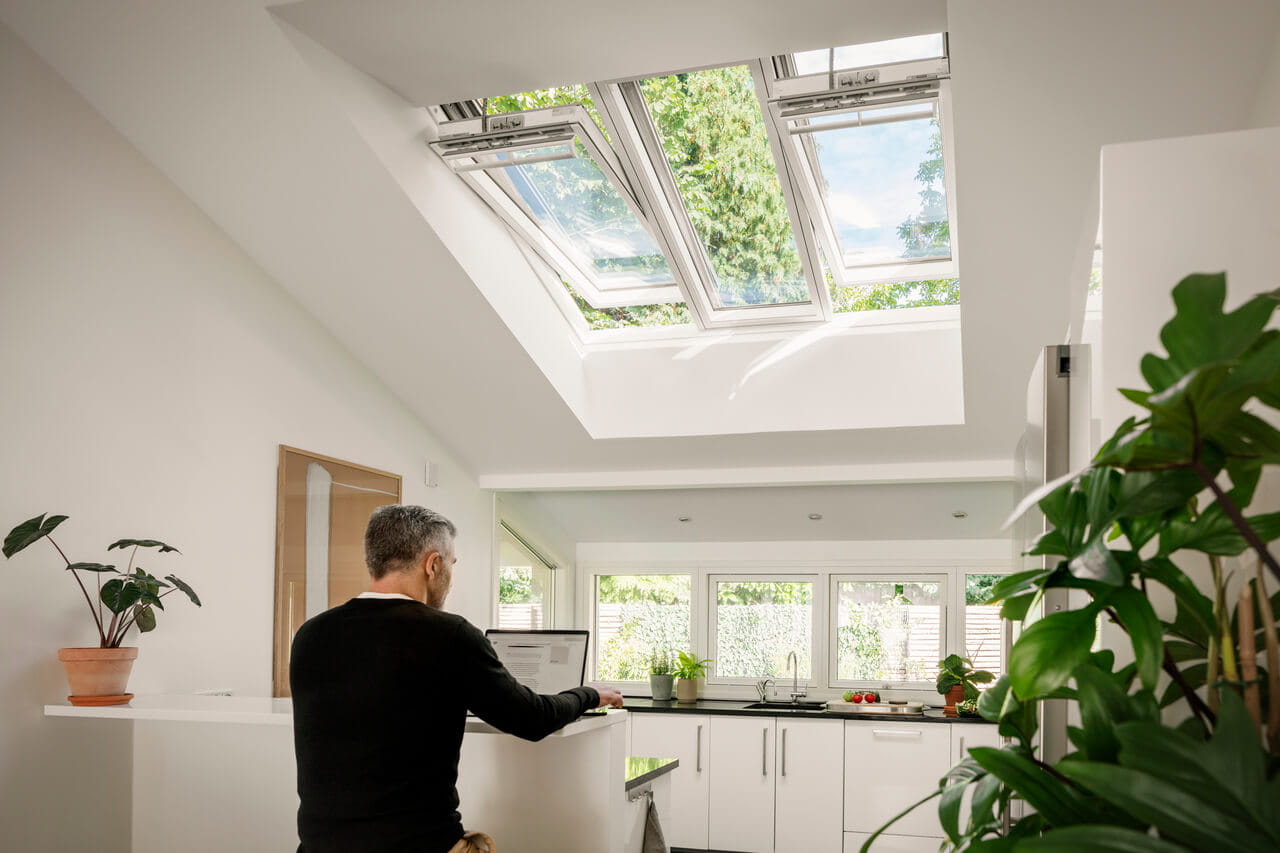
Our commitment to you does not end once your roof window has been installed.
Read about our product guarantee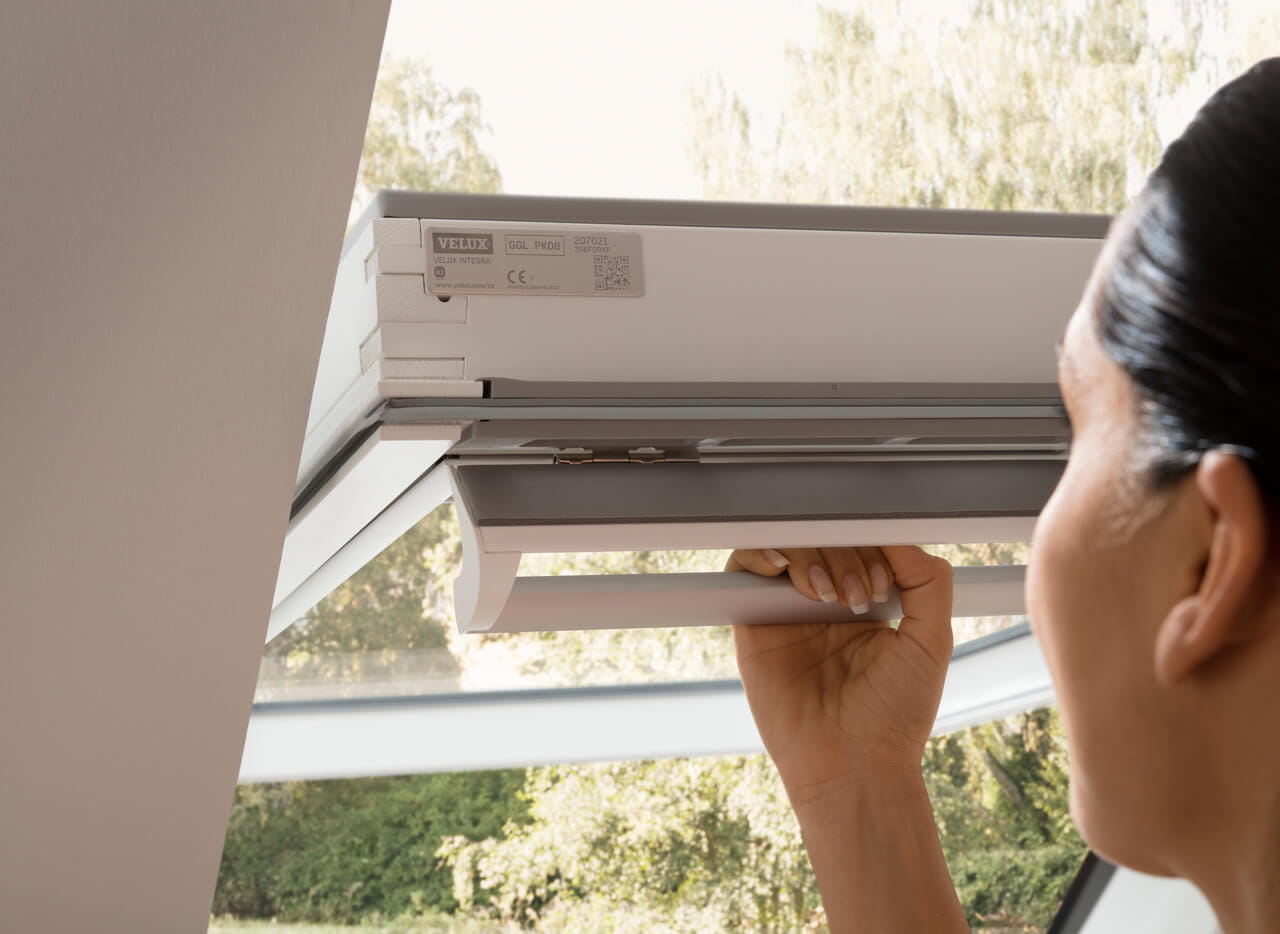
Find the Declarations of Performance (DoP) for your specific VELUX product.
Read moreNeed help?

Get a free Daylight Design Concept

Contact us